Skip to primary navigation
Skip to main content
Skip to primary sidebar
Hungry Foodie
About / Work With Me
Recipes
Book Reviews
DIY
Travel
Skincare
Search
menu icon
search icon
Search
About / Work With Me
Recipes
Book Reviews
DIY
Travel
Skincare
Facebook
Instagram
Pinterest
YouTube
×
Home
More Healthy Living
How to Make Tomato Confit
Homemade Caesar Dressing
How To Make Garlic Confit
Instant Pot Chicken Noodle Soup
Instant Pot Apple Butter
Sheet Pan Salmon and Vegetables
The Best Gluten Free Carrot Cake
Homemade Hamburger Helper Beef Stroganoff
Books I read in July 2023
Books I Read in June 2023
French Onion Chicken
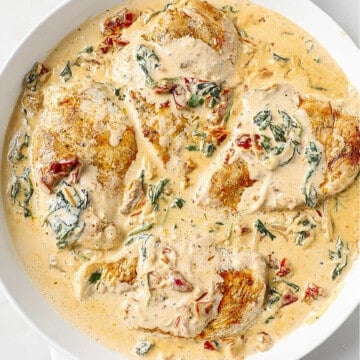
Marry Me Chicken (Tuscan Chicken)
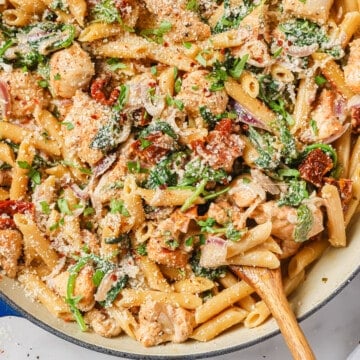
Marry Me Chicken Pasta (Tuscan Chicken Pasta)
Red White and Blueberry Milkshake
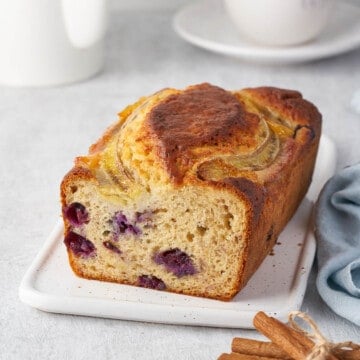
Blueberry Banana Bread
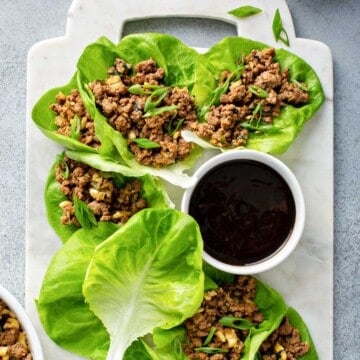
The Best Asian Chicken Lettuce Wraps
Crispy Air Fryer Sweet Potato Fries
Thin and Crispy Gingersnap Cookies
Keto Chocolate Zucchini Bread
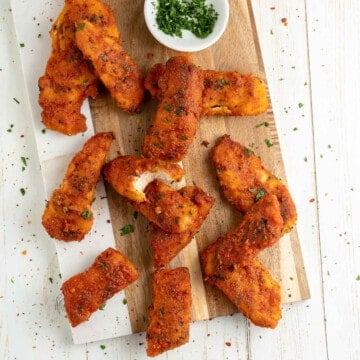
Sweet and Spicy Keto Chicken Tenders
Go to page
1
Go to page
2
Go to page
3
Interim pages omitted
…
Go to page
8
Go to
Next Page »