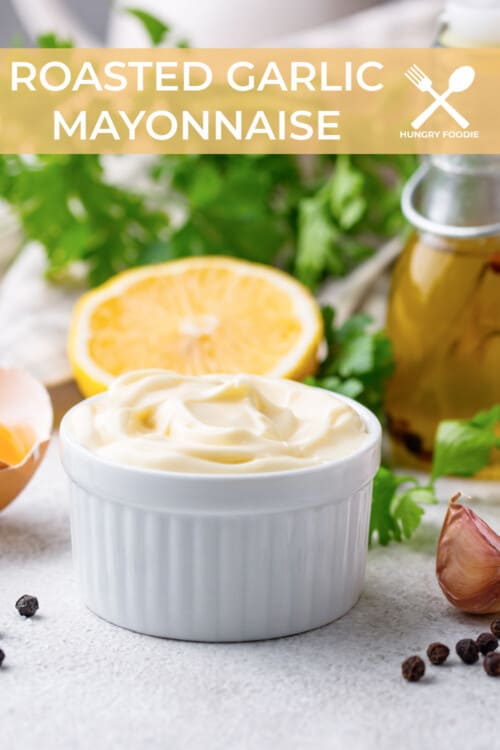
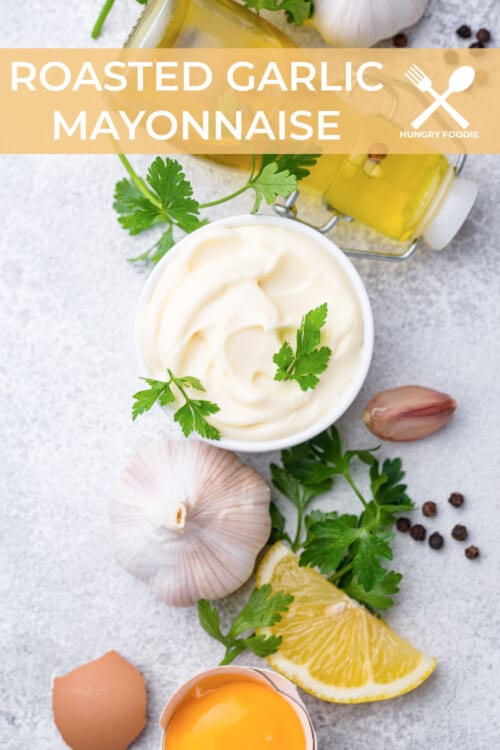
This foolproof Roasted Garlic Mayo adds a little extra something to every dish -- you'll never use store-bought again! Spread some on crusty sourdough bread and pile on your favorite sandwich toppings, use it as a base for salad dressings, or layer in a creamy element to a dairy free dish. With the deliciously savory flavor of roasted garlic, you can't go wrong!
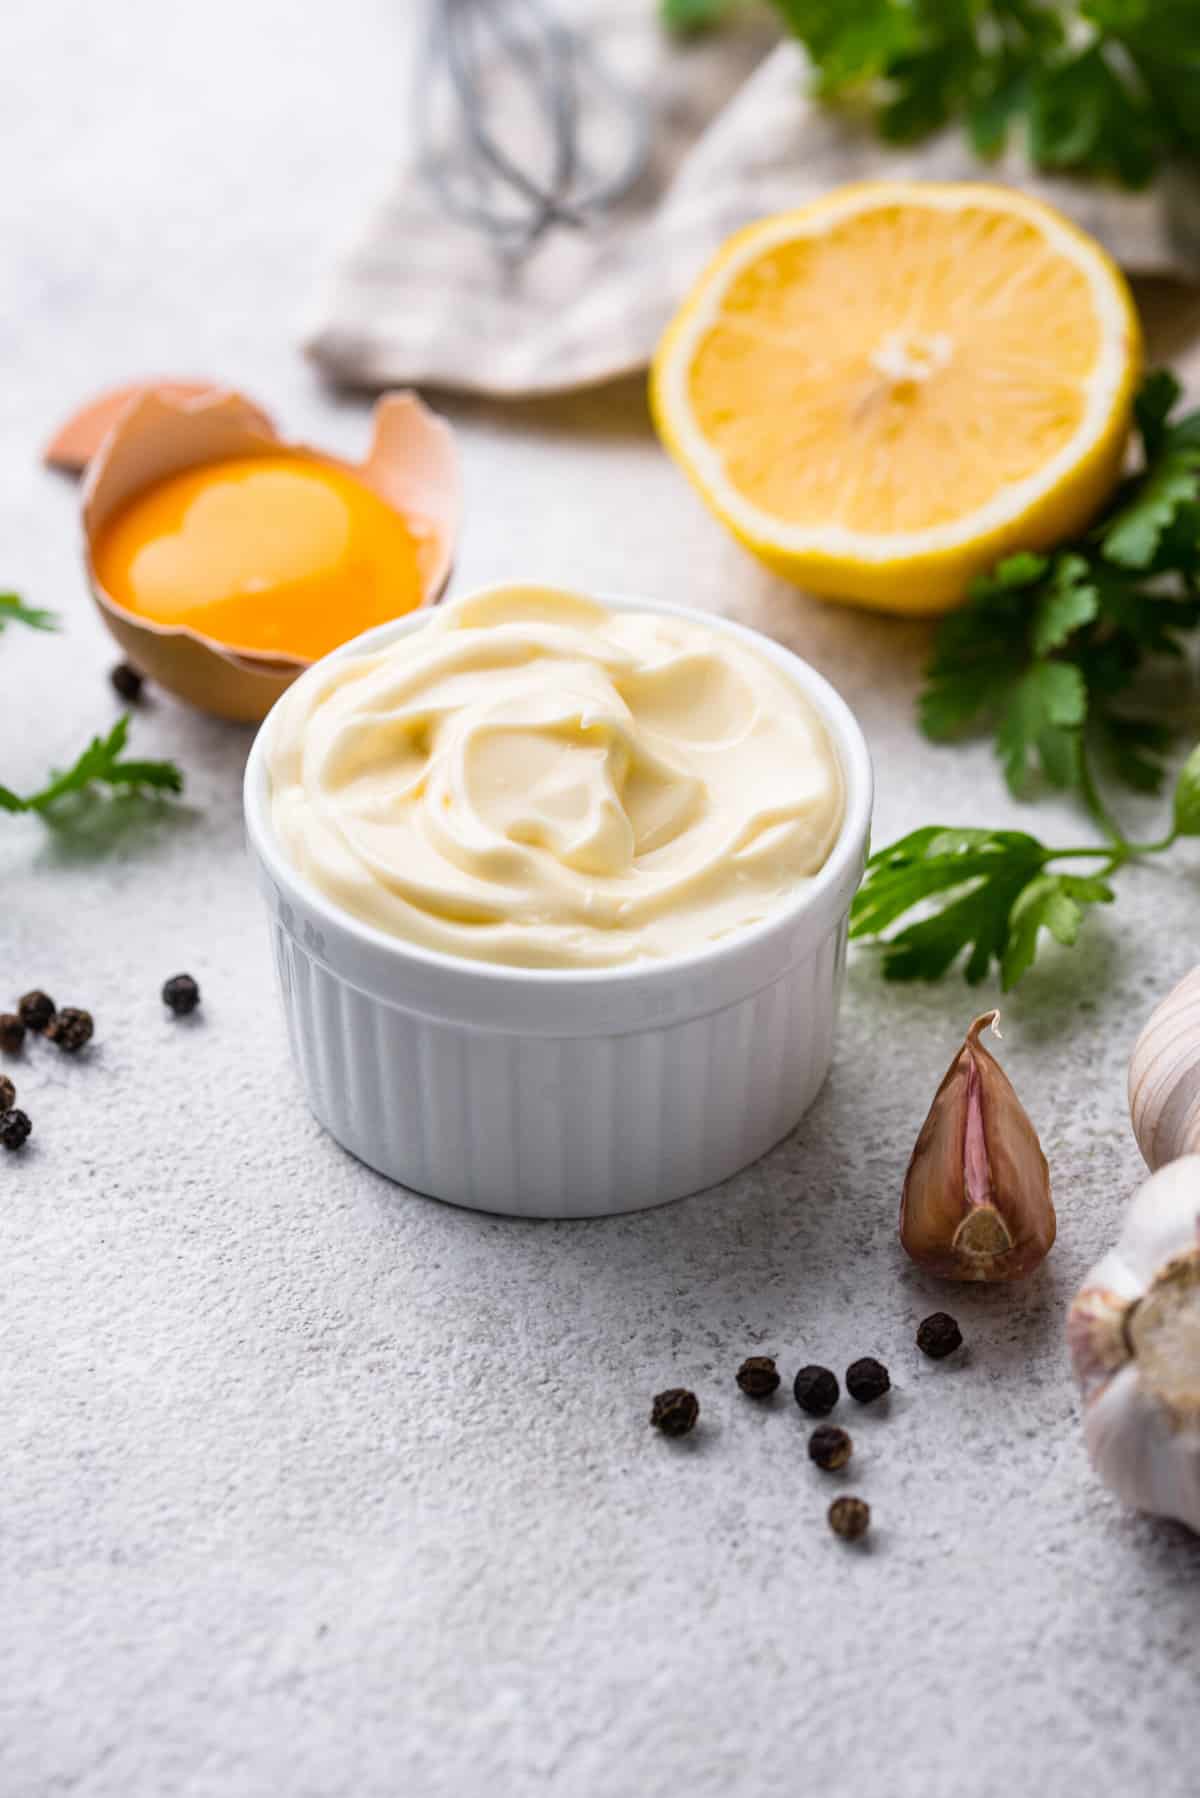
Ingredient Notes
- Egg: the fresher the better when it comes to this recipe. I use a free range egg and allow it to come to room temperature so that it emulsifies nicely with all the other ingredients. Don't worry about the raw egg -- all mayo is made with raw egg! Just store yours in the fridge for up to two weeks and you'll be good to go.
- Avocado oil: I like to use avocado oil in my homemade mayonnaise recipe because it is really light, and whips up easily. You can also use olive oil, but it will impart a heavier flavor.
- Roasted garlic: the key to this recipe is the roasted garlic -- prepackaged minced garlic just won't do the trick! Roasting the garlic gives a deeper caramelized flavor that takes this mayo to the next level. I mean, who doesn't love garlic?! I highly recommend roasting an extra bulb of garlic because you are going to want to eat it on everything. Alternatively, you can make it with this delicious Garlic Confit.
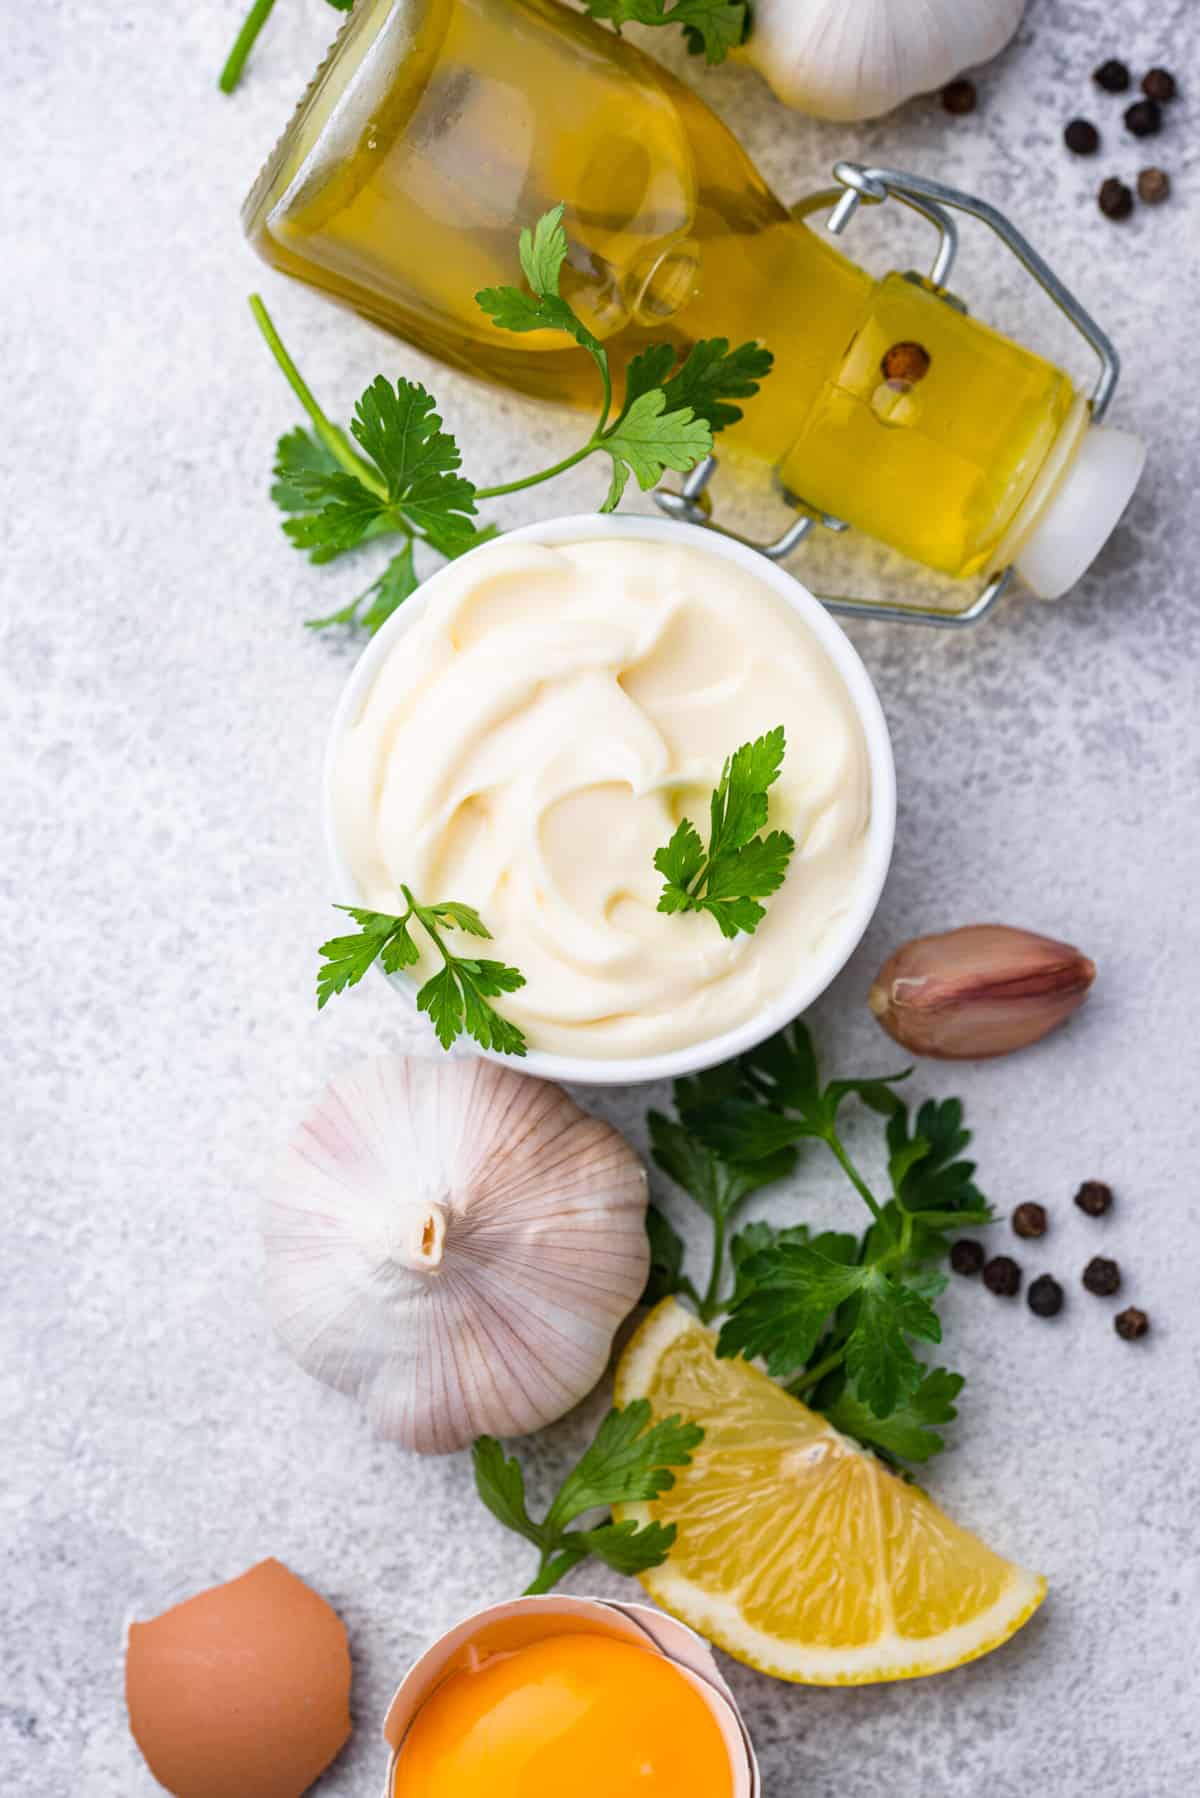
Step By Step Instructions
STEP 1: Preheat the oven to 400°F. Cut the top ¼ inch off of the bulb of garlic, exposing the cloves.
STEP 2: Put the bulb of garlic on a sheet of aluminum foil that is large enough to wrap the entire bulb. Drizzle the bulb of garlic with the oil, then sprinkle with the salt and pepper.
STEP 3: Wrap each bulb tightly in foil. Put the foil packets on a rimmed baking sheet and bake for 45 minutes, or until the garlic is fragrant and the cloves are tender and caramelized.
STEP 4: Once the garlic has cooled, squeeze the cloves out of the bulb and mash them into a paste.
STEP 5: Starting with the lemon juice and ending with the avocado oil, put the ingredients, one at a time and in the order listed, in a wide-mouth pint-sized mason jar. Let the ingredients rest for 20 seconds or so.
STEP 6: Insert an immersion blender into the jar, placing it all the way at the bottom. Turn it on high speed and leave it at the bottom of the jar for about 20 seconds. The mayonnaise will immediately begin to set up and fill the jar.
STEP 7: When the mayonnaise is almost all the way set, slowly lift the immersion blender toward the top of the jar without taking the blades out of the mayonnaise. Then slowly push it back toward the bottom of the jar. Repeat this up-and-down motion a couple of times until the ingredients are well incorporated.
STEP 8: Gently mix in the garlic paste.

Recipe Tips and Variations
- Storage: keep your mayo refrigerated and store for up to two weeks.
- Switch up the flavor: I will always be on team garlic, but you can also add fresh dill to this Roasted Garlic Mayo. Customize the flavors with your favorite fresh herbs. Other variations include truffle mayo, sriracha mayo, pesto mayo, dijon mayo, honey mustard mayo, Buffalo mayo ... the combinations are endless! (How to Make Pesto)
- Whole30 Mayo: As written, this is a whole30 compliant mayonnaise recipe.
- Basic mayo: need a plain homemade mayo recipe? Easy! Just omit the garlic.
- Make your own salad dressing: I love to use this Roasted Garlic Mayo as a base for my favorite homemade dressings. Try using it in Dairy Free Keto Ranch Dressing, Creamy Chive Keto Blue Cheese Dressing, Keto Russian Dressing, Keto Creamy Avocado Ranch Dressing, or Buffalo Ranch Dressing.
- More garlic: add a little more garlic to some of my favorite sauces and dips. Try this Roasted Garlic Mayo in Keto Yum Yum Sauce, Remoulade Sauce, Keto Tzatziki Sauce, and in Spinach and Artichoke Dip. The toasty, caramelized flavor really adds a beautiful depth to each recipe!
Frequently Asked Questions
Other homemade mayo recipes will recommend canola, safflower, grapeseed, or other seed-based oils. These oils are highly inflammatory, which is why I recommend using avocado oil. Olive oil is a good alternative, but it has a stronger flavor.
Aioli is traditionally made with emulsified olive oil and eggs. Nowadays, when you see aioli on a menu, it's typically a fancy mayo.
My favorite way to make homemade mayo is with an immersion blender. It's super easy, keeps clean up to a minimum, and emulsifies the mayo very easily.
Other Recipes You Might Enjoy
REVIEW AND FOLLOW: Have you tried this recipe? If so, please leave a comment and ⭐️ rating below. If you make our recipes and share them, be sure to use our hashtag #hungryfoodie on social! We love seeing what you are making. FOLLOW Hungry Foodie on FACEBOOK | INSTAGRAM | PINTEREST for more delicious recipes.
Print
Roasted Garlic Mayo
- Total Time: 55 minutes
- Yield: 1 ½ cups 1x
- Diet: Diabetic
Description
This foolproof Roasted Garlic Mayo adds a little extra something to every dish -- you'll never use store-bought again! Spread some on crusty sourdough bread and pile on your favorite sandwich toppings, use it as a base for salad dressings, or layer in a creamy element to a dairy free dish. With the deliciously savory flavor of roasted garlic, you can't go wrong!
Ingredients
For the roasted garlic
- 1 bulb garlic
- 1 tablespoon avocado oil or olive oil
- ¼ teaspoon sea salt
- Pinch of black pepper
For the mayo
- 2 teaspoons fresh lemon juice
- 1 large egg
- ½ teaspoon mustard powder
- ½ teaspoon sea salt
- Pinch of ground black pepper
- 1 cup avocado oil (I use this brand)
Instructions
For the roasted garlic
- Preheat the oven to 400°F.
- Cut the top ¼ inch off of the bulb of garlic, exposing the cloves.
- Put the bulb of garlic on a sheet of aluminum foil that is large enough to wrap the entire bulb.
- Drizzle the bulb of garlic with the oil, then sprinkle with the salt and pepper.
- Wrap each bulb tightly in the foil. Put the foil packets on a rimmed baking sheet and bake for 45 minutes, or until the garlic is fragrant and the cloves are tender and caramelized.
- Once the garlic has cooled, squeeze the cloves out of the bulb and mash them into a paste.
For the mayo
- Starting with the lemon juice and ending with the avocado oil, put the ingredients, one at a time and in the order listed, in a wide-mouth pint-sized mason jar. Let the ingredients rest for 20 seconds or so.
- Insert an immersion blender into the jar, placing it all the way at the bottom. Turn it on high speed and leave it at the bottom of the jar for about 20 seconds. The mayonnaise will immediately begin to set up and fill the jar.
- When the mayonnaise is almost all the way set, slowly lift the immersion blender toward the top of the jar without taking the blades out of the mayonnaise. Then slowly push it back toward the bottom of the jar. Repeat this up-and-down motion a couple of times until the ingredients are well incorporated.
- Gently mix in the garlic paste.
Notes
- net carbs per serving: 1.6g
- Store in the refrigerator for up to 2 weeks.
- Prep Time: 10 minutes
- Cook Time: 45 minutes
- Category: Condiment Recipes
- Method: Immersion Blender
- Cuisine: French
Nutrition
- Serving Size: 2 tablespoons
- Calories: 273
- Fat: 29.7g
- Carbohydrates: 1.7g
- Fiber: 0.1g
- Protein: 1.1g

Kaleb Marks says
I've made this recipe many, many times as I have your Craveable Keto cookbook. Happy to see it up on your blog for everyone to enjoy. MAKE IT! You won't regret it.