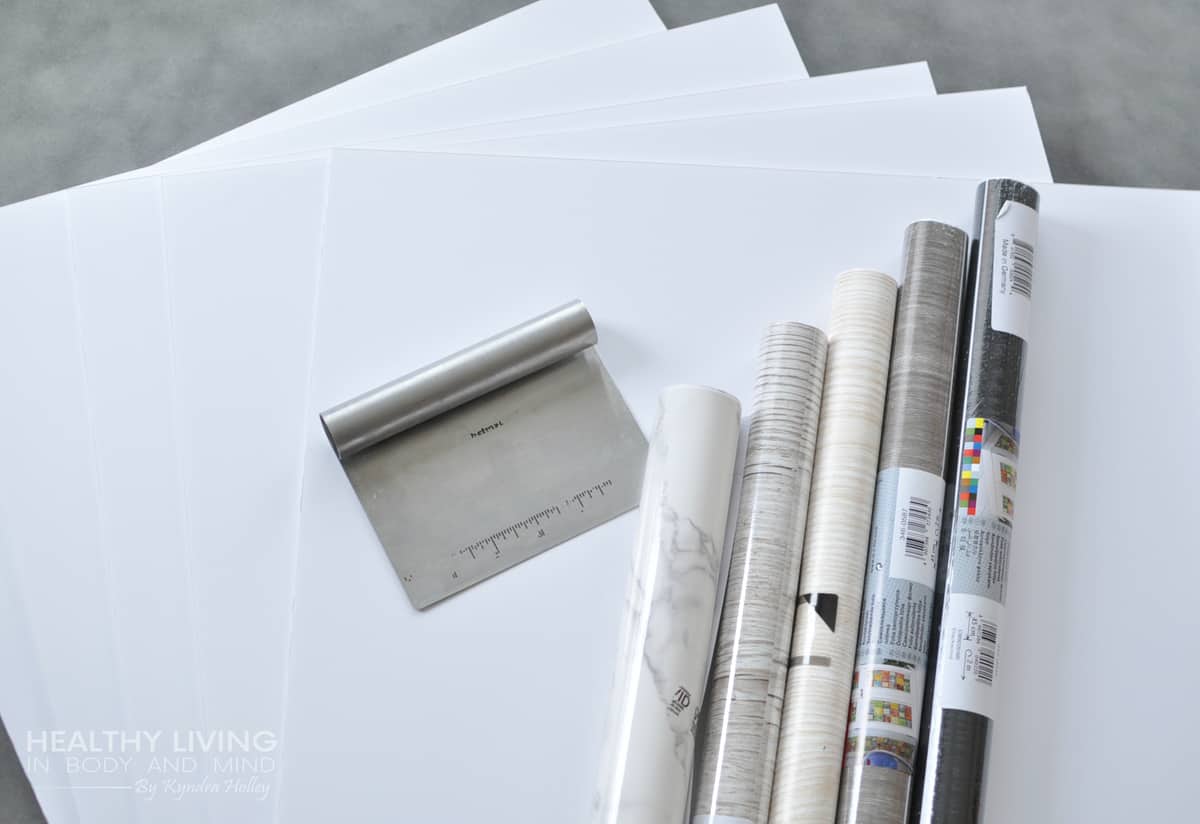
What you will need:
- Foam Board (I get it at Walmart or Office Depot) You can also get them online here
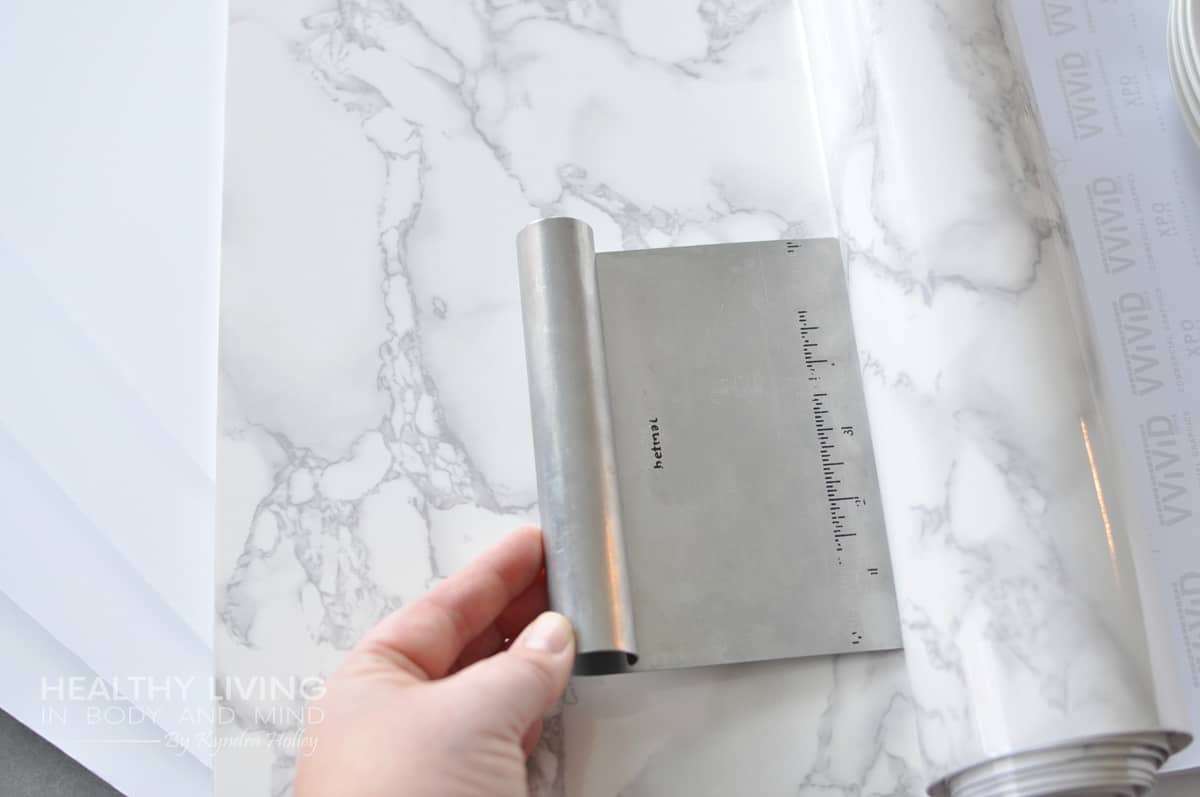
- Scraper Tool (I used my kitchen scraper.) You can grab one here
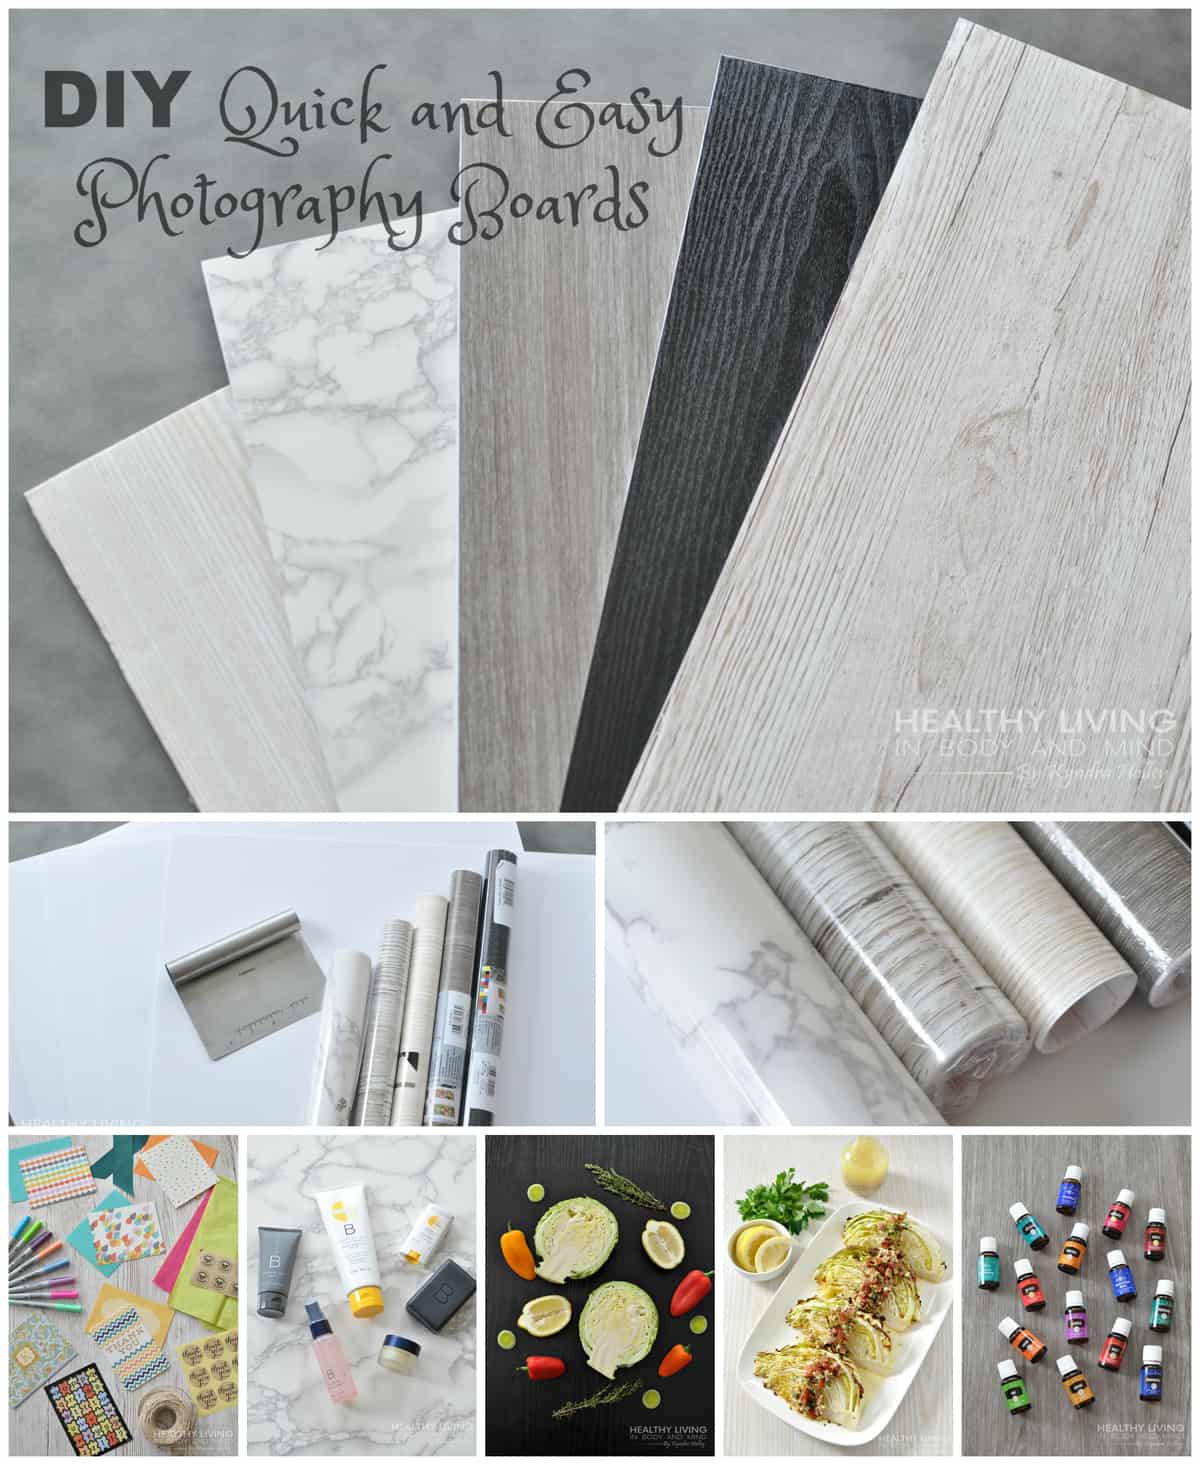
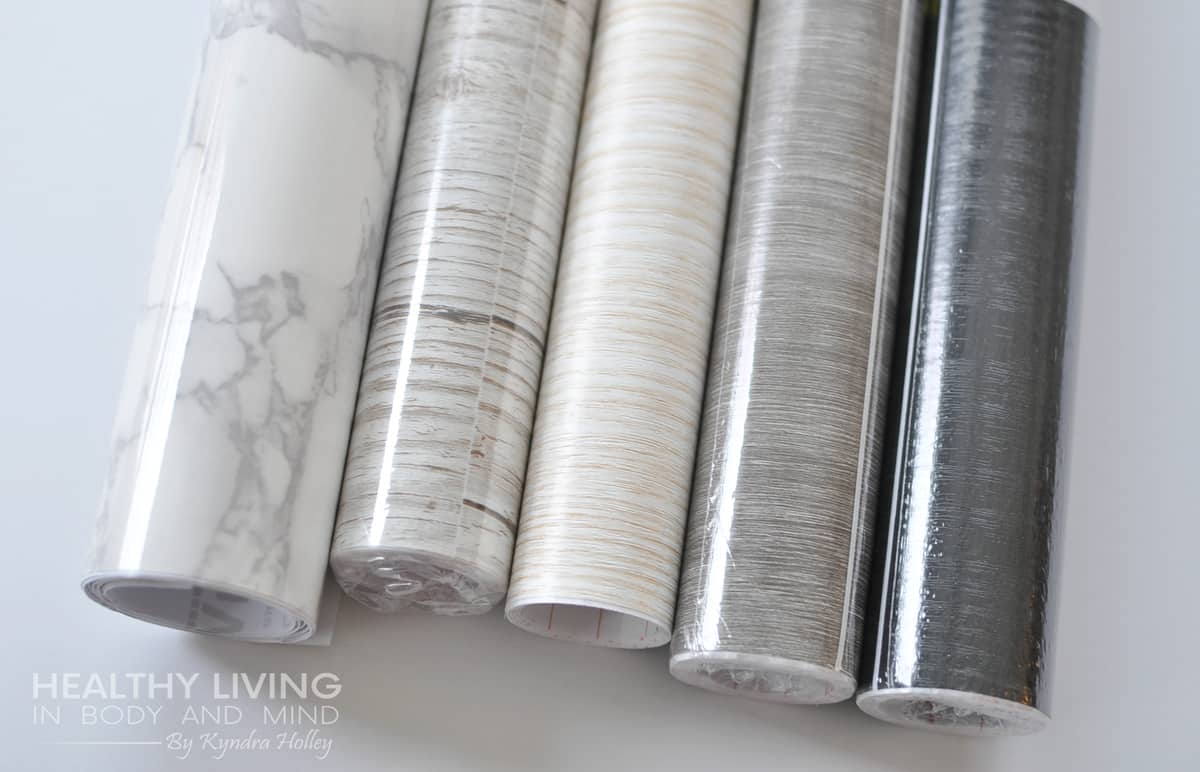
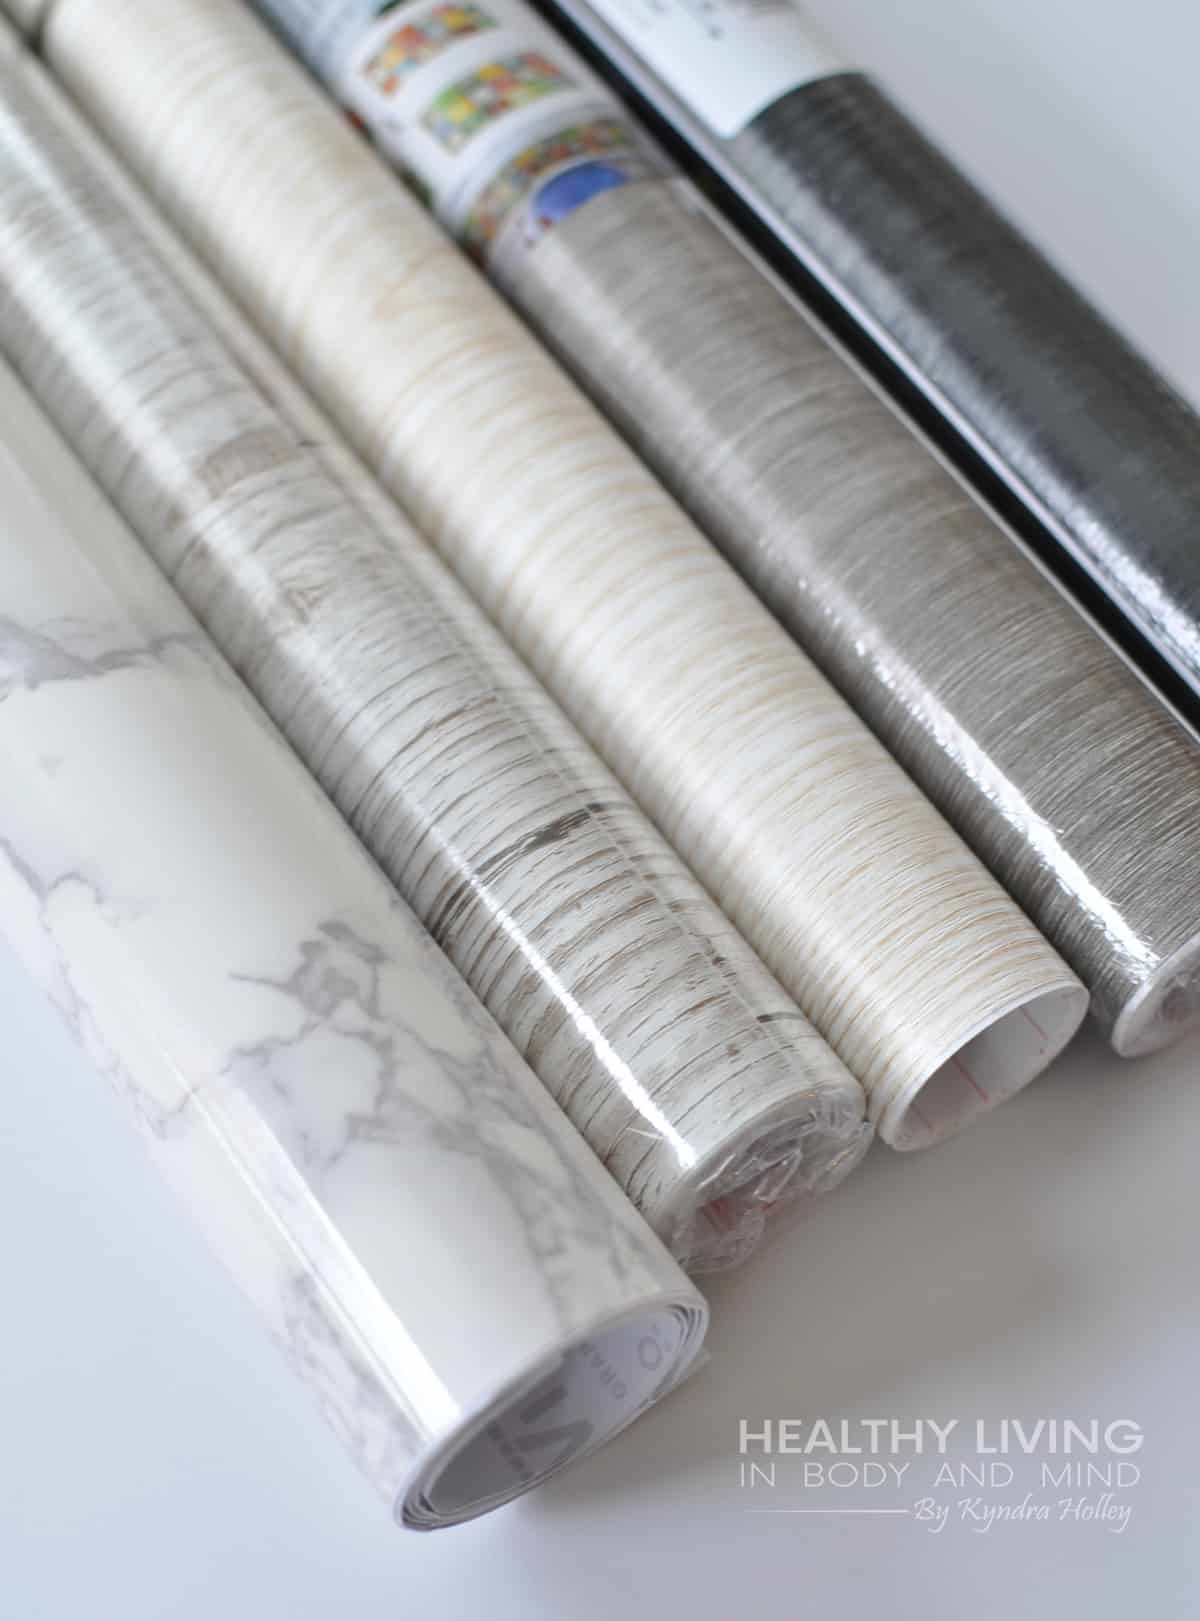
- Self adhesive Film Rolls (Below are links to the color options featured in the photo below (left to right), as well as a couple of others that I have made since the time of this tutorial.
What you will will do:
- Peel back the corner of the self adhesive contact paper and line it up with the corner of the foam board
- Peel back the top 1 inch of the contact paper roll, separating it from the backing and line it straight along the top edge of the foam board
- Use the scraper tool to smooth out any bubbles.
- Slowly pull the down the paper backing of the adhesive roll inch by inch, while simultaneously using the scraper tool to smooth out any creases or bubbles. Continue doing this until you have reached the bottom of the foam board.
- Use scissors or a box knife to cut the contact paper at the bottom. Fold any excess around the edges and onto the back.
- Use the scraper tool to go over the whole board and smooth out any imperfections.
- You're done! How easy was that?
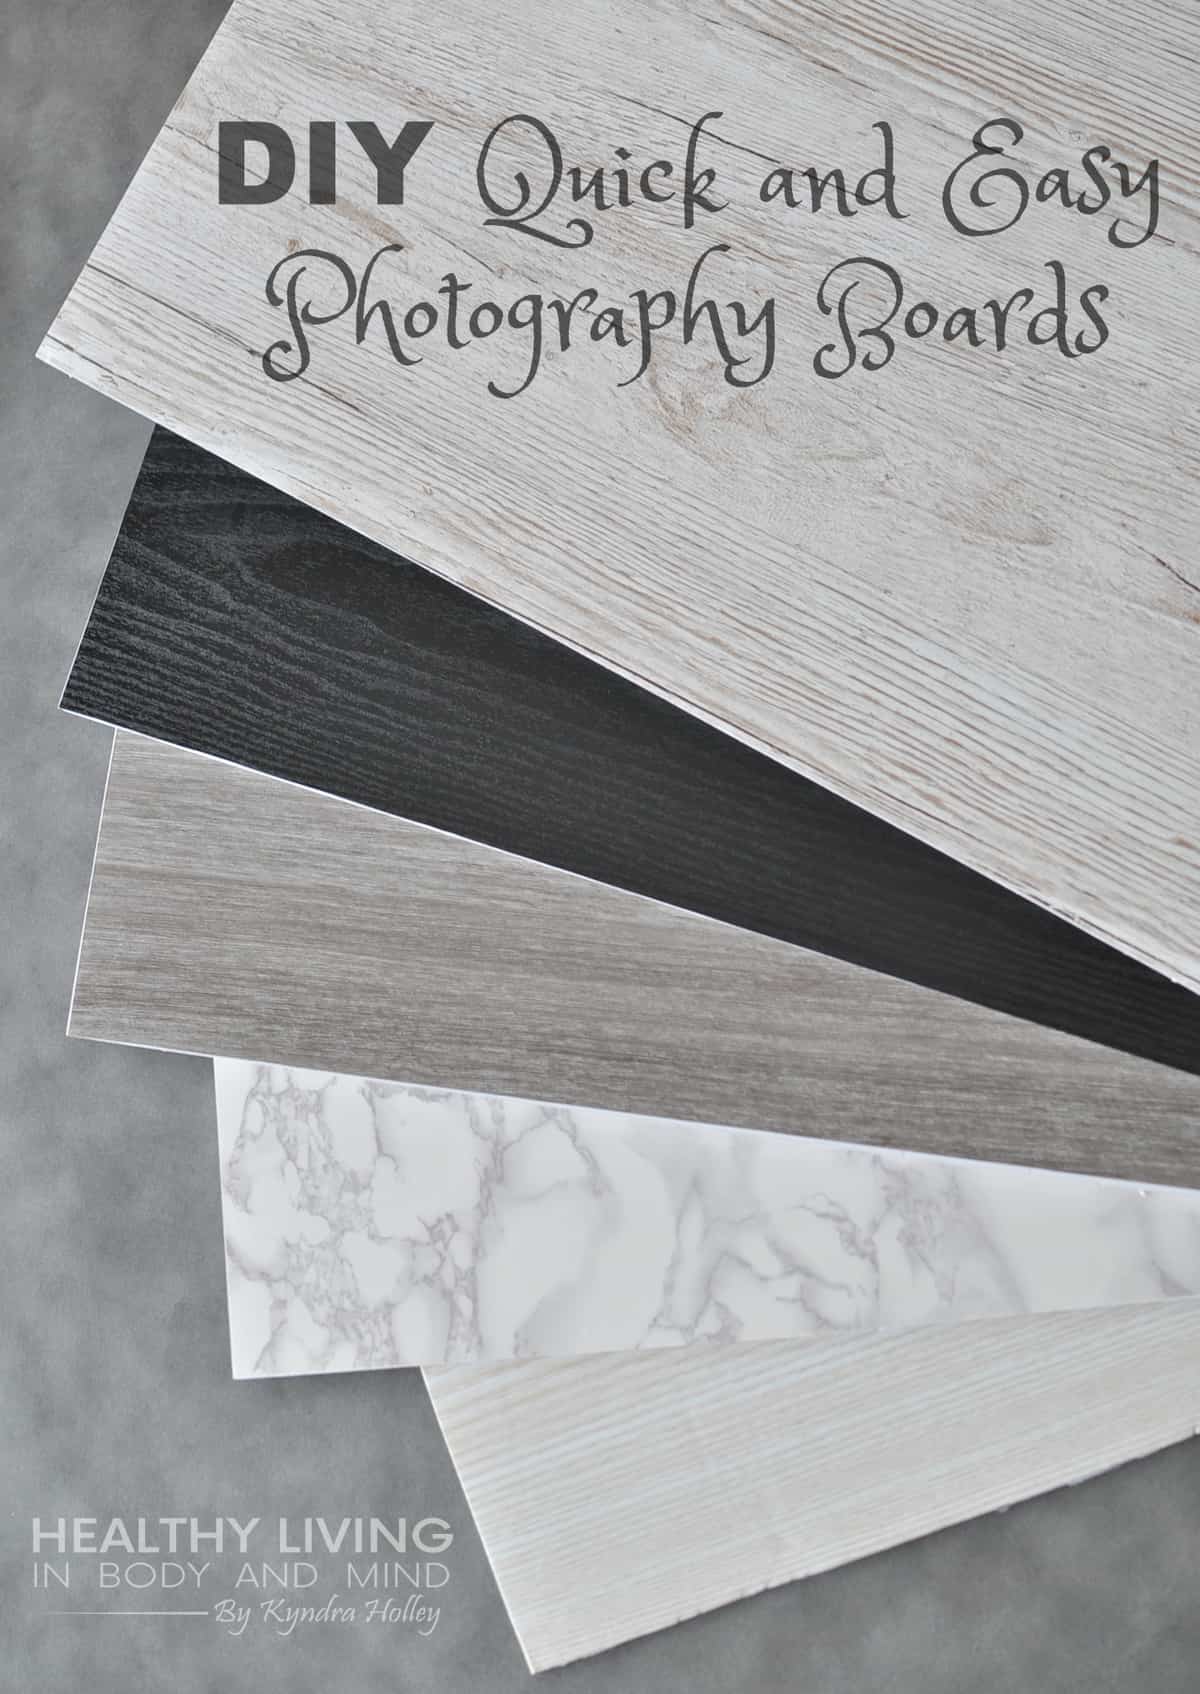
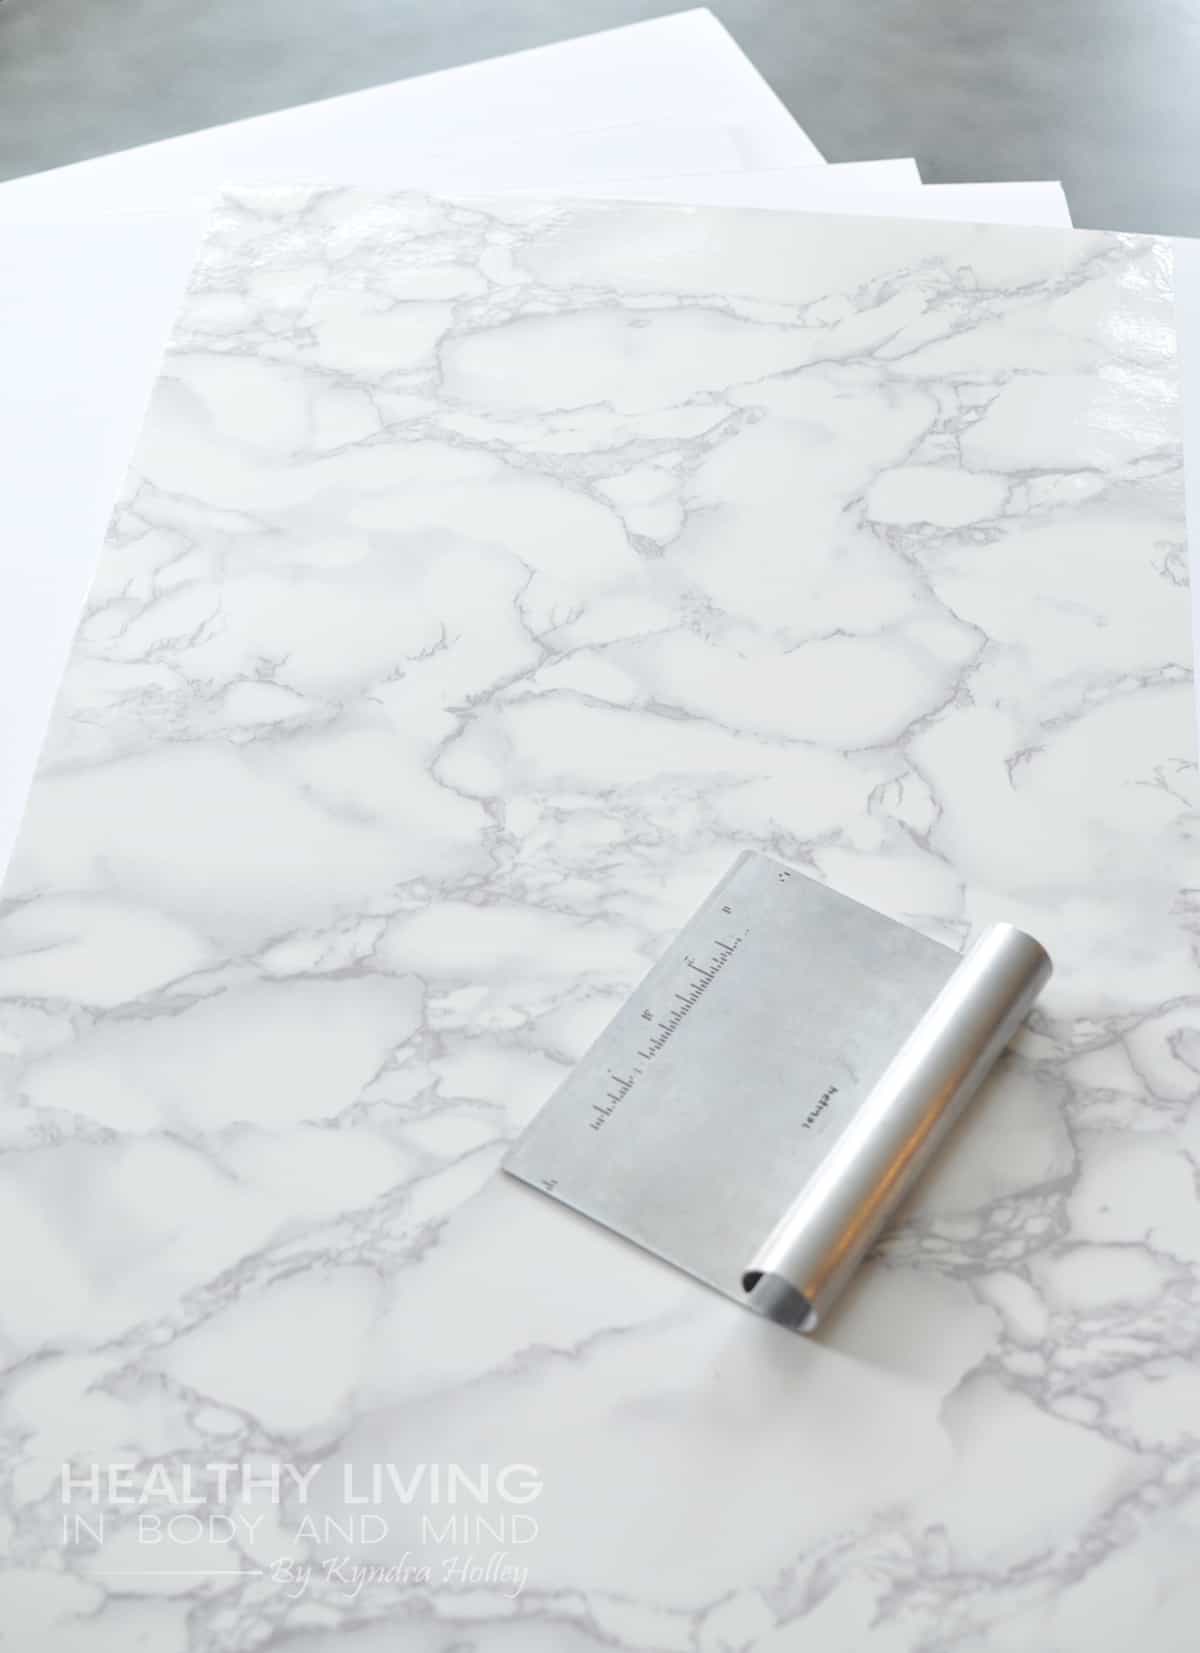
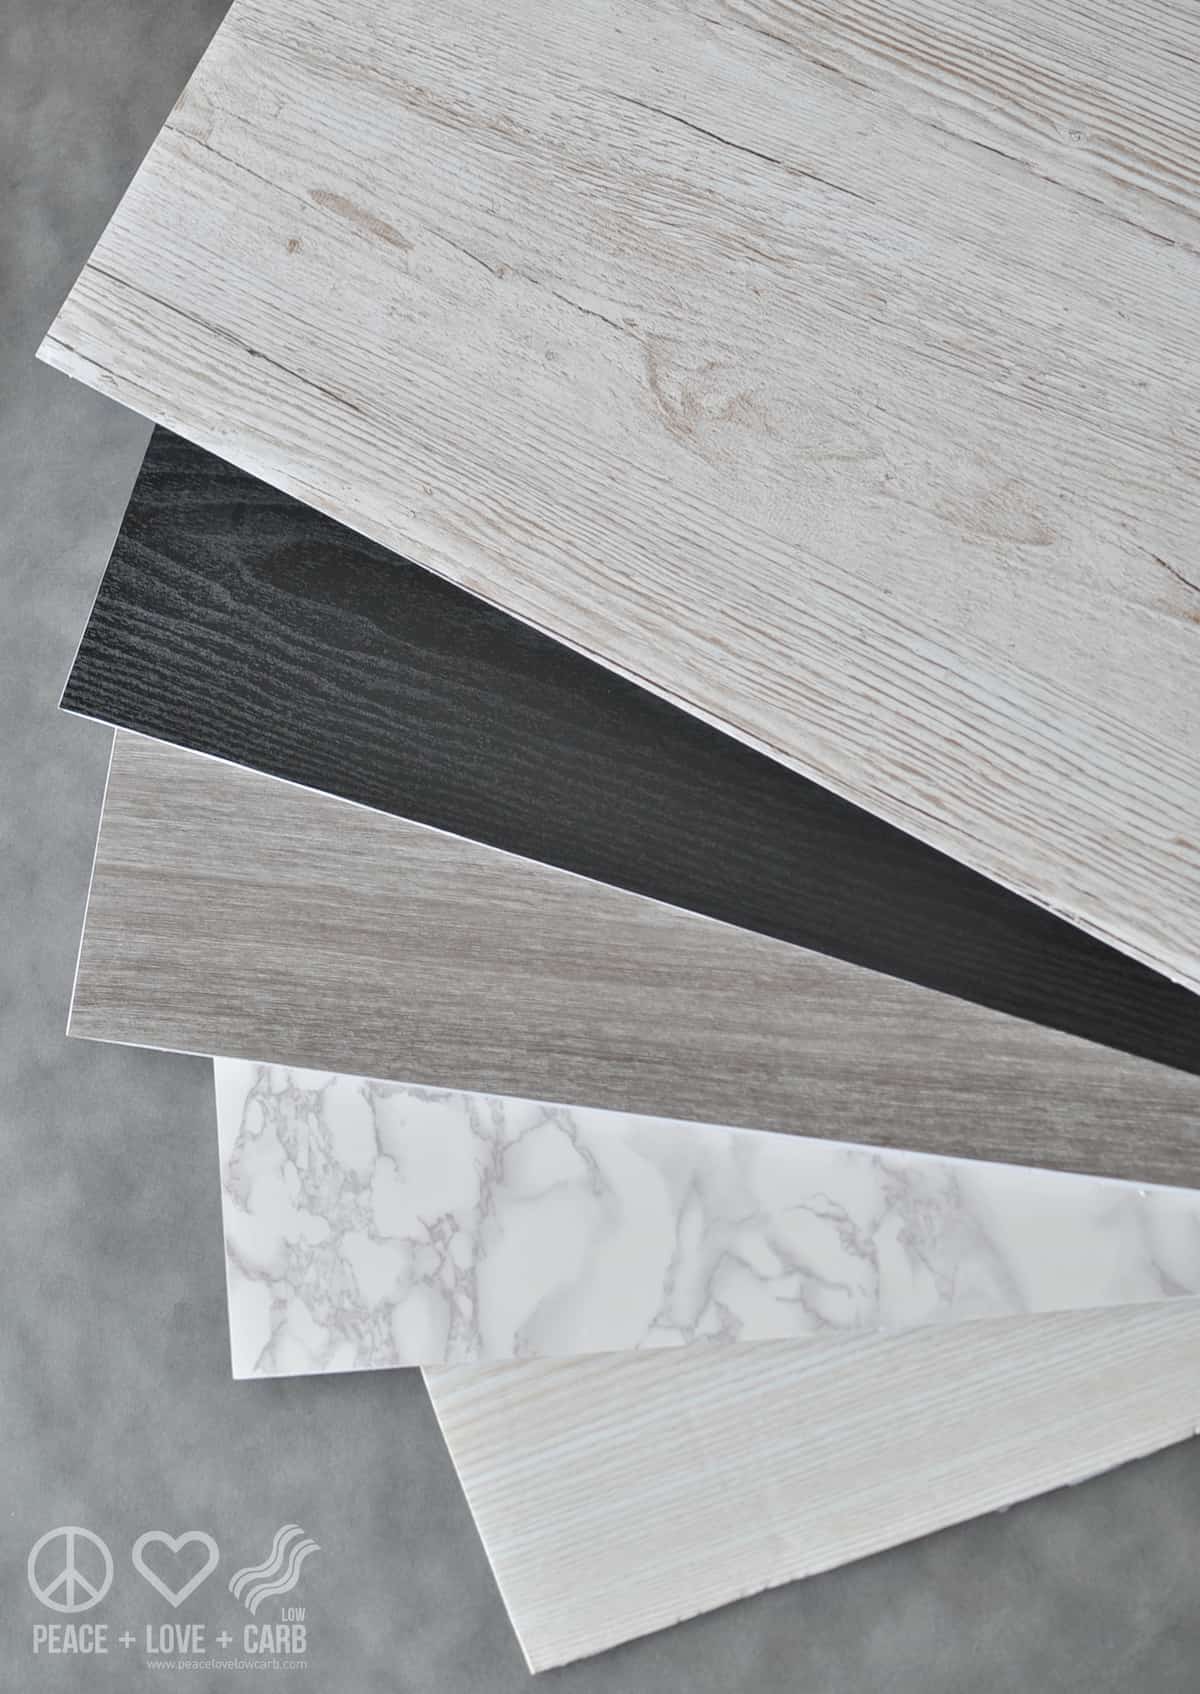
Below is an example of what the finished product will look like. If your foam board is wider that the roll of contact paper, repeat the process, lining up the patterns of the paper at the seams for continuity to cover the rest of the board. You can even make them reversible and cover the back side with a different print.
You will have plenty of extra contact paper leftover for future projects or to make more photography boards. These are also great for other DIY projects - Repurposing old furniture, backsplash, lining drawers, shelves and cupboards, refreshing your hoe decor, etc. These rolls are waterproof and can be applied to any flat surface. If you spill on them, clean up is a cinch. Just wipe the mess away with a damp cloth.
Just like that, in less than an hour, you can have multiple inexpensive and easy DIY photography boards and backdrops. The sky is the limit with the different styles, textures and colors you can use. It will look like you are shooting on real wood and marble surfaces. No one would ever know that it is contact paper on foam board. Not to mention this little Do-It-Yourself project will save you a ton of money. Everyone loves saving money!
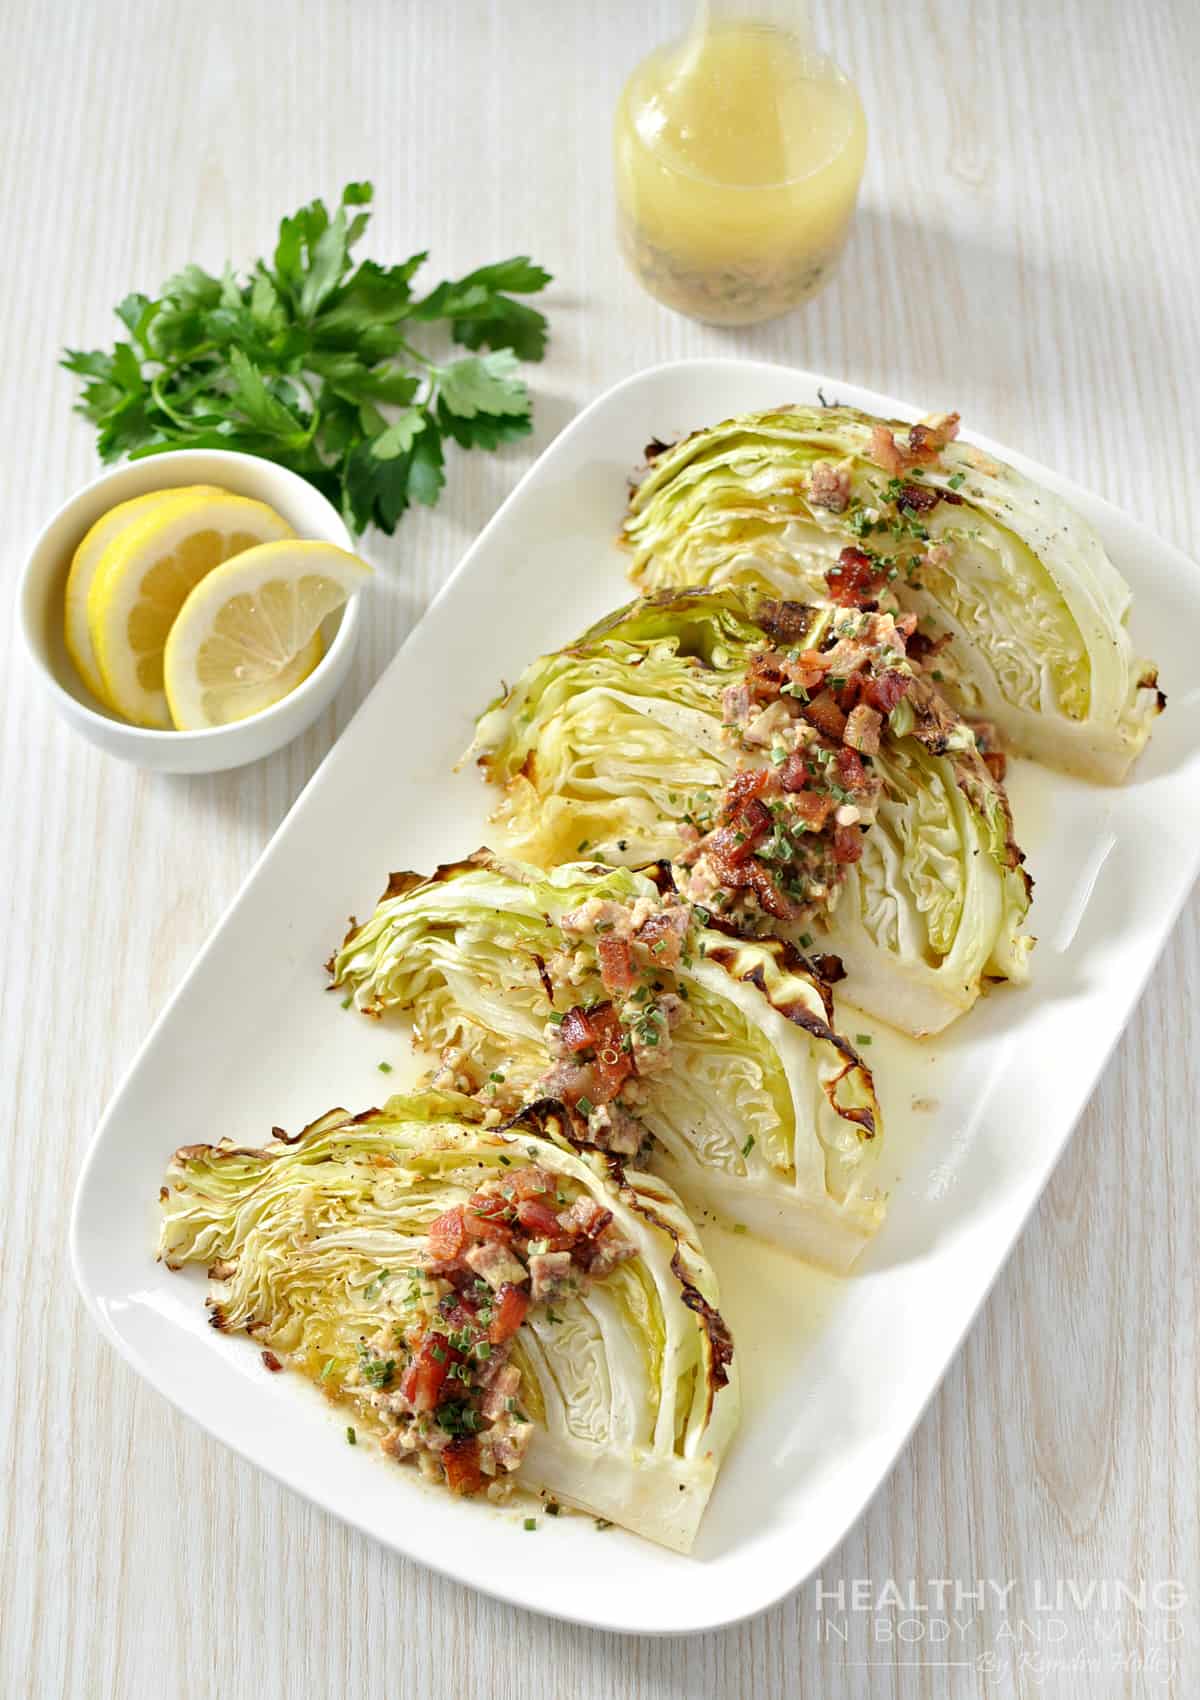
Now you can see each of them in action in different settings and with different photography subjects. Below is a recipe that I was shooting for one of my cookbooks. Oven Roasted Cabbage Wedges with Bacon Dijon Vinaigrette. This recipe was shot on the White Ash board. You can get that pattern here.
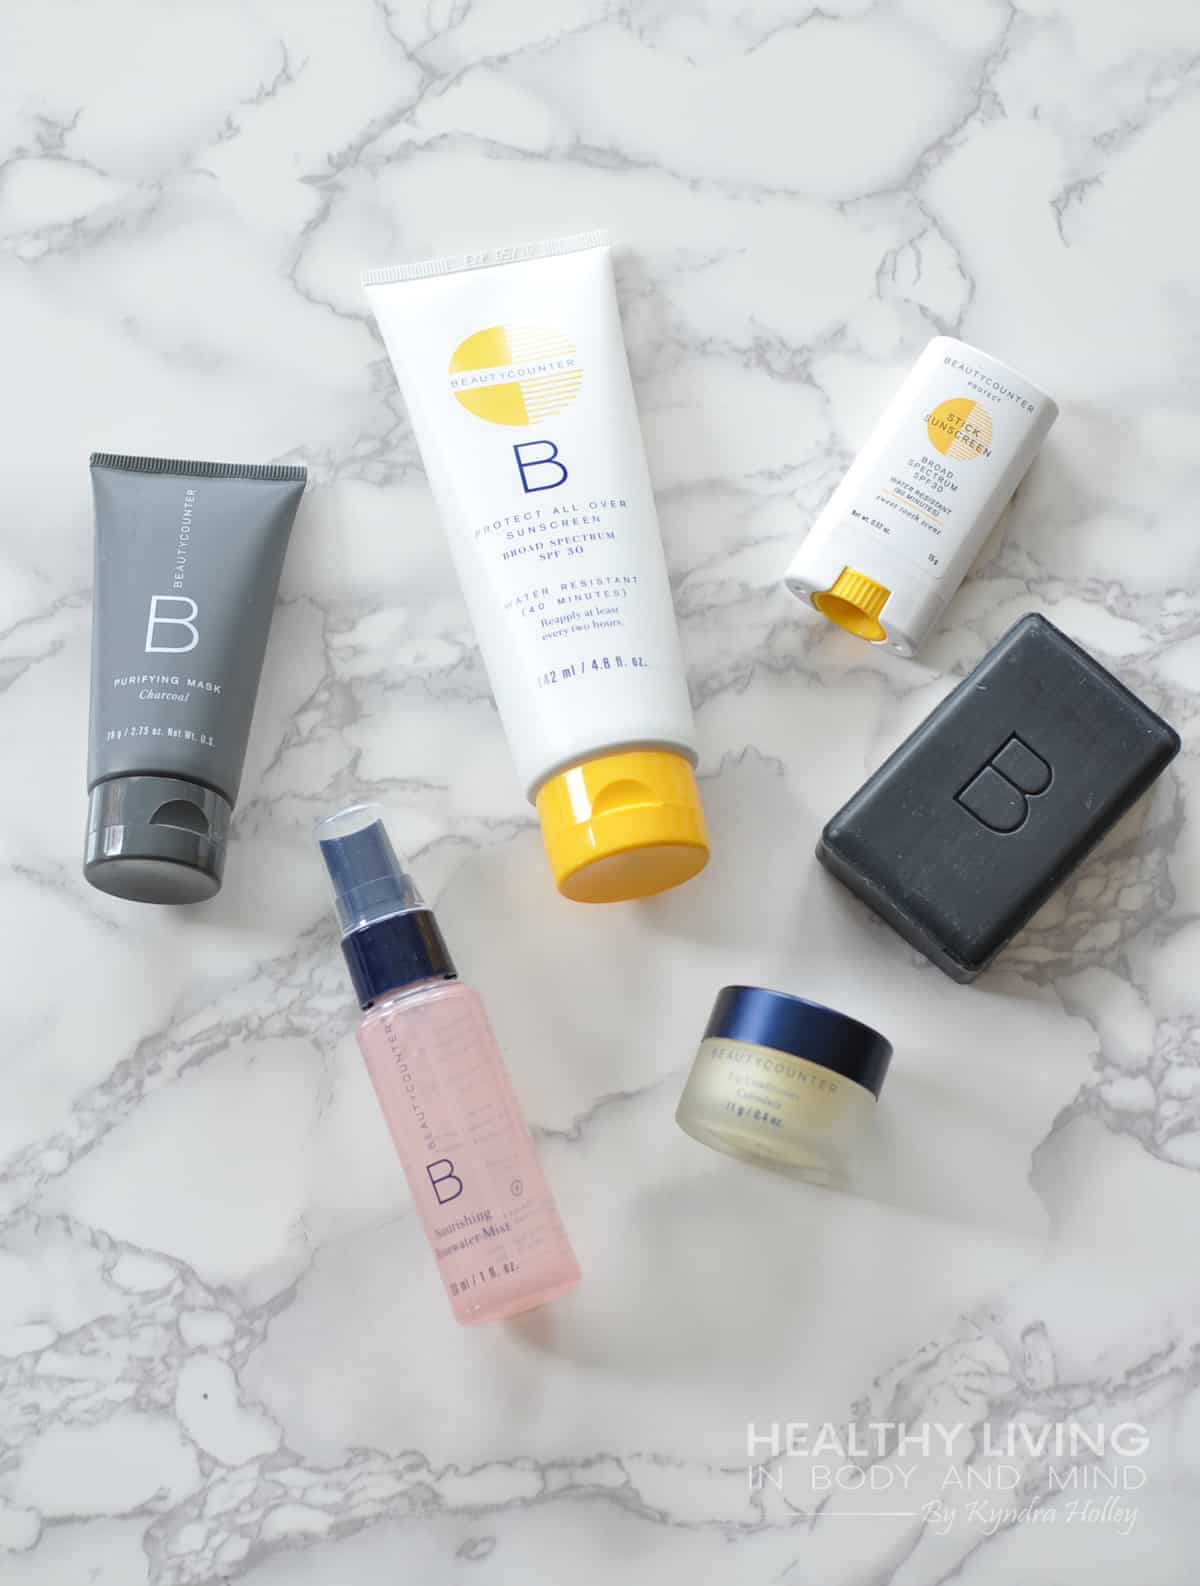
These are some of my safer skincare products from Beautycounter shot on the White Grey Marble board. Doesn't it look so clean and amazing? I think this might be my favorite one. If this was not my photo, I would never know that this photo wasn't shot on a marble counter top. You can get that pattern here. Shameless promotion here... If you are interested in learning to clean up your makeup and skincare routine, I would love to help you do that. You can read about safer skincare choices here.
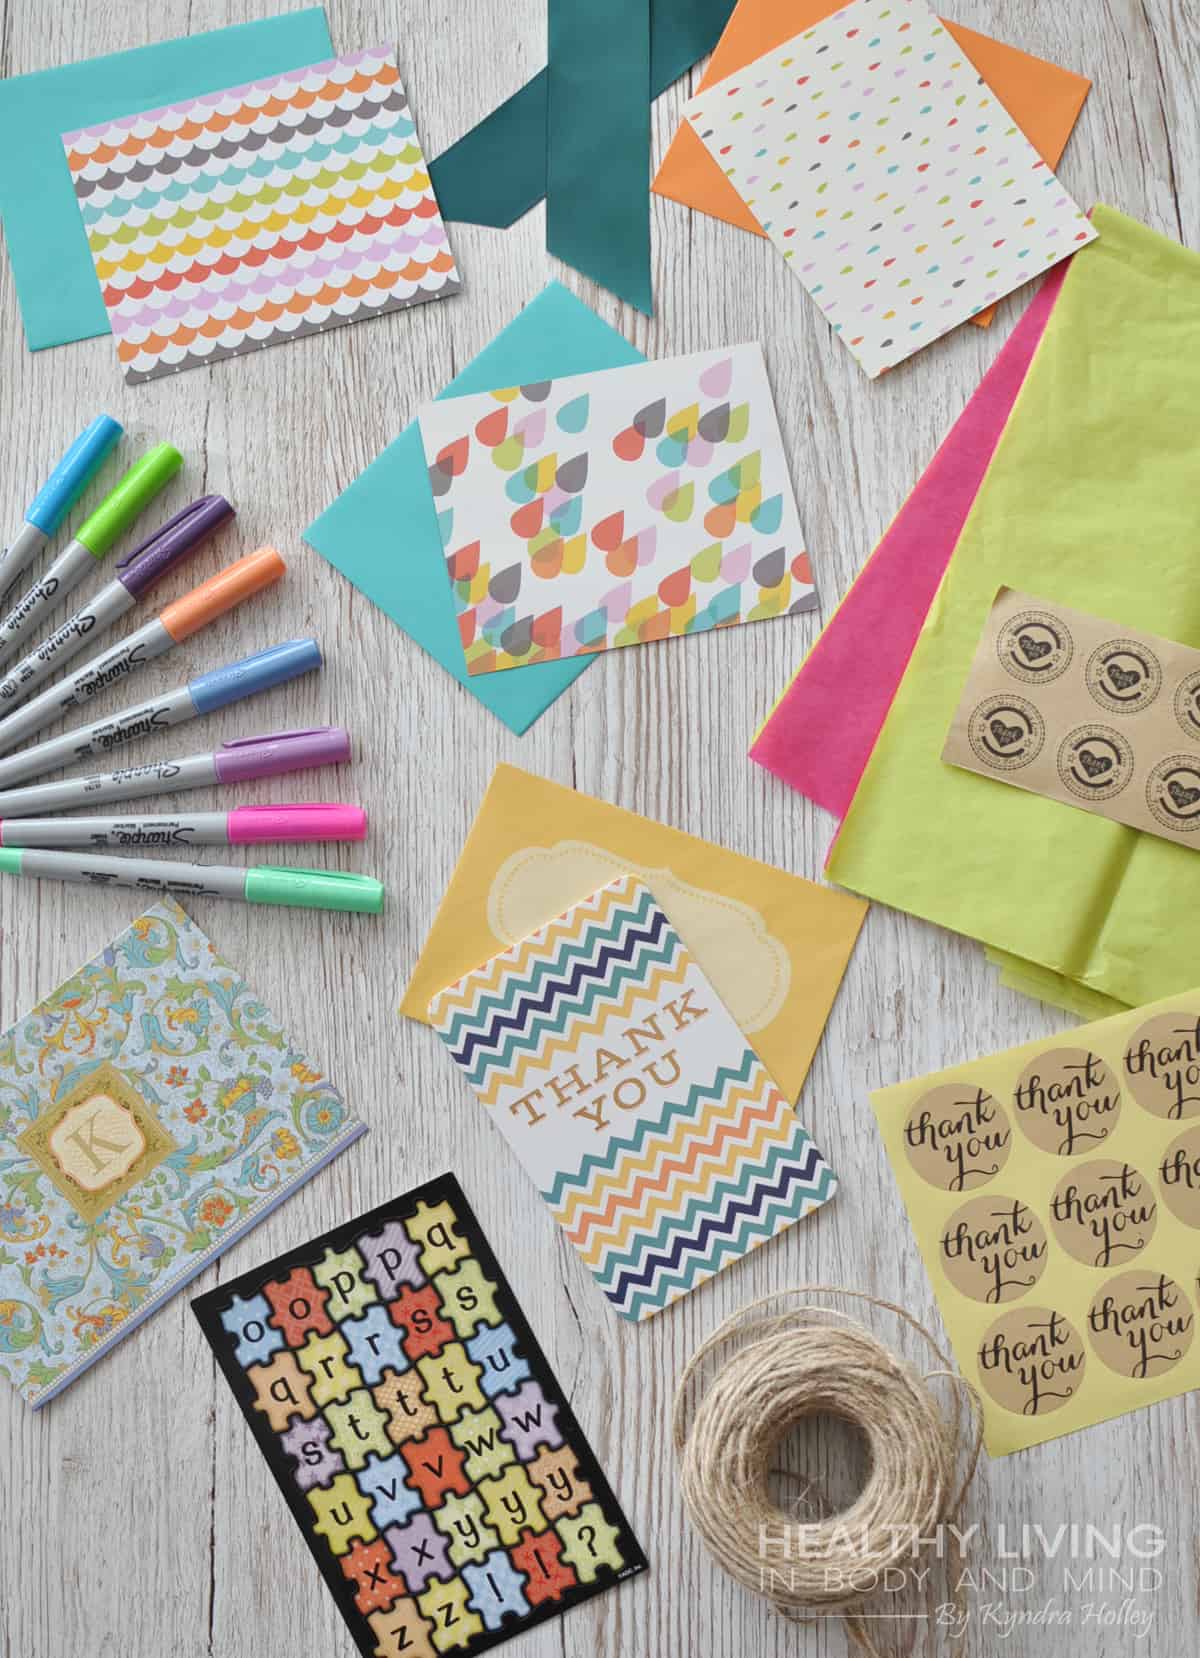
These are stationary and scrapbooking supplies shot on the Weathered Wood board. I love how real the wood grain looks. Especially the knots and cracks towards the bottom. The potentials uses are endless! You can get that pattern here.
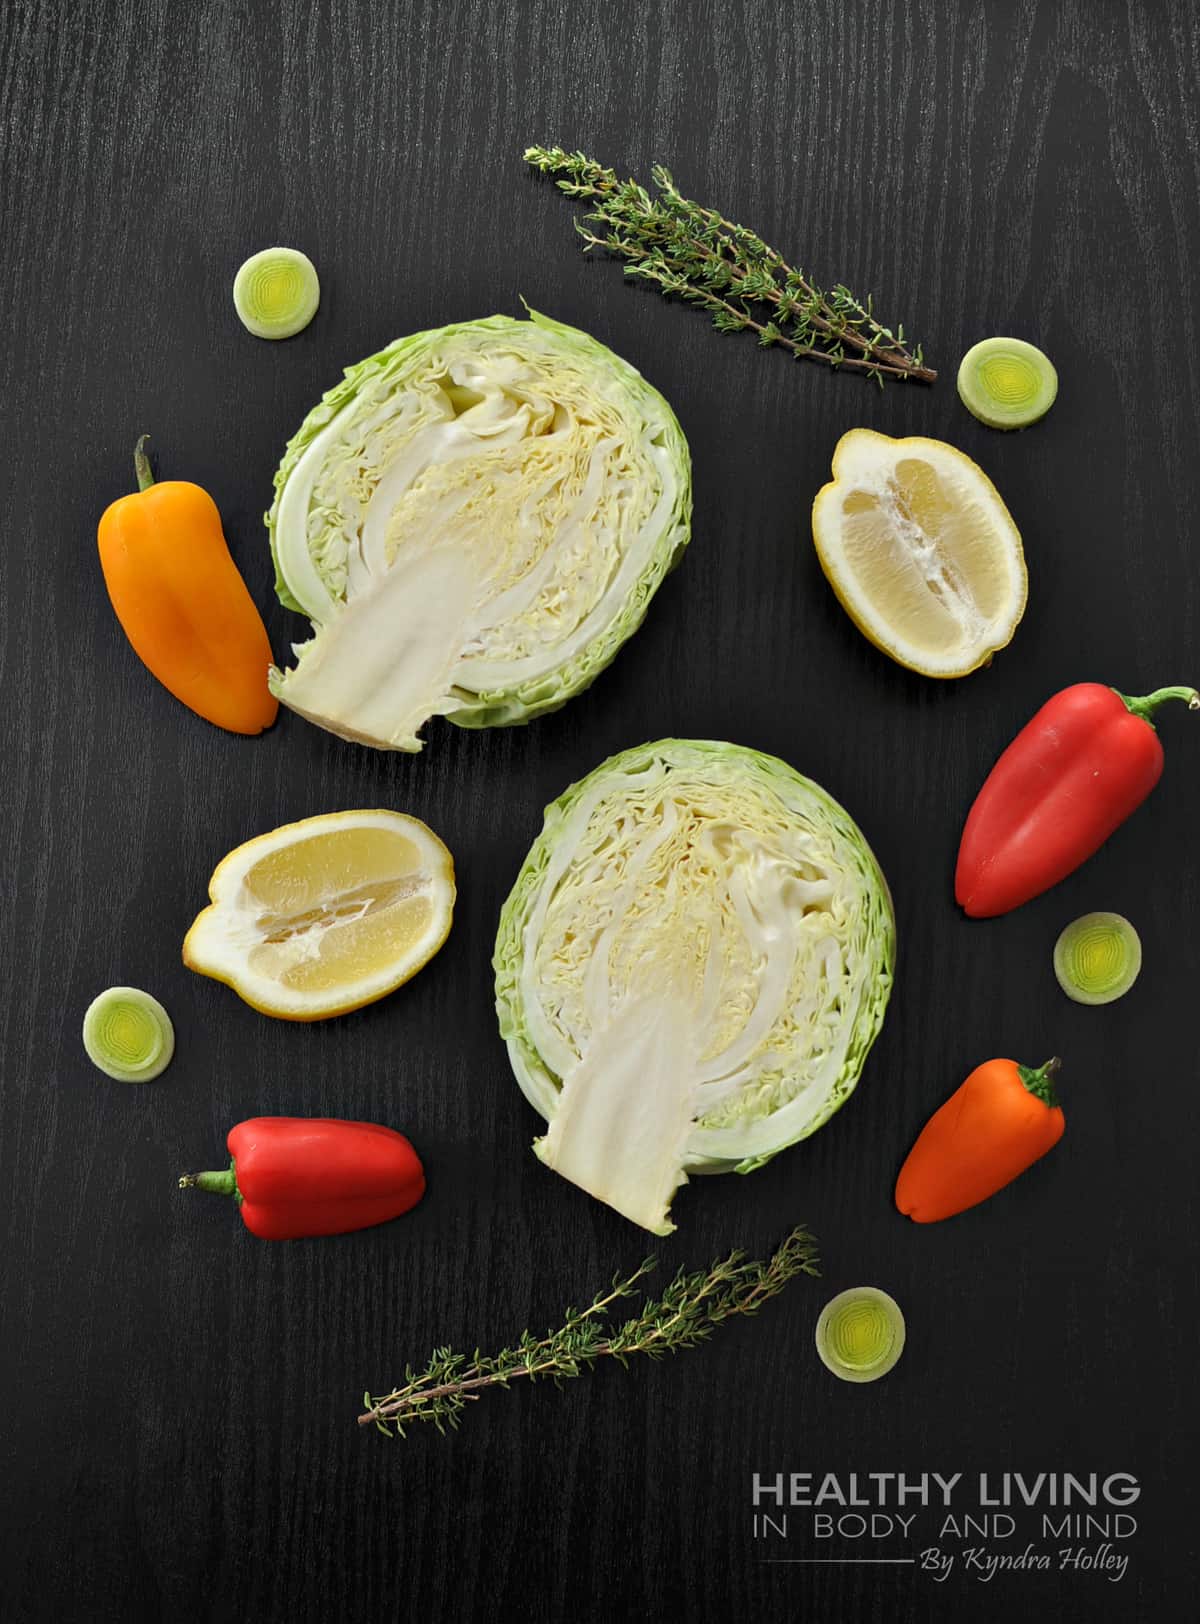
Isn't food so naturally beautiful? I could photograph food all day. I have the best job in the world! The food is shot on the Black Wood Grain board. It gives the photo sort of a moody feel but still looks clean and fresh. Get that pattern here.
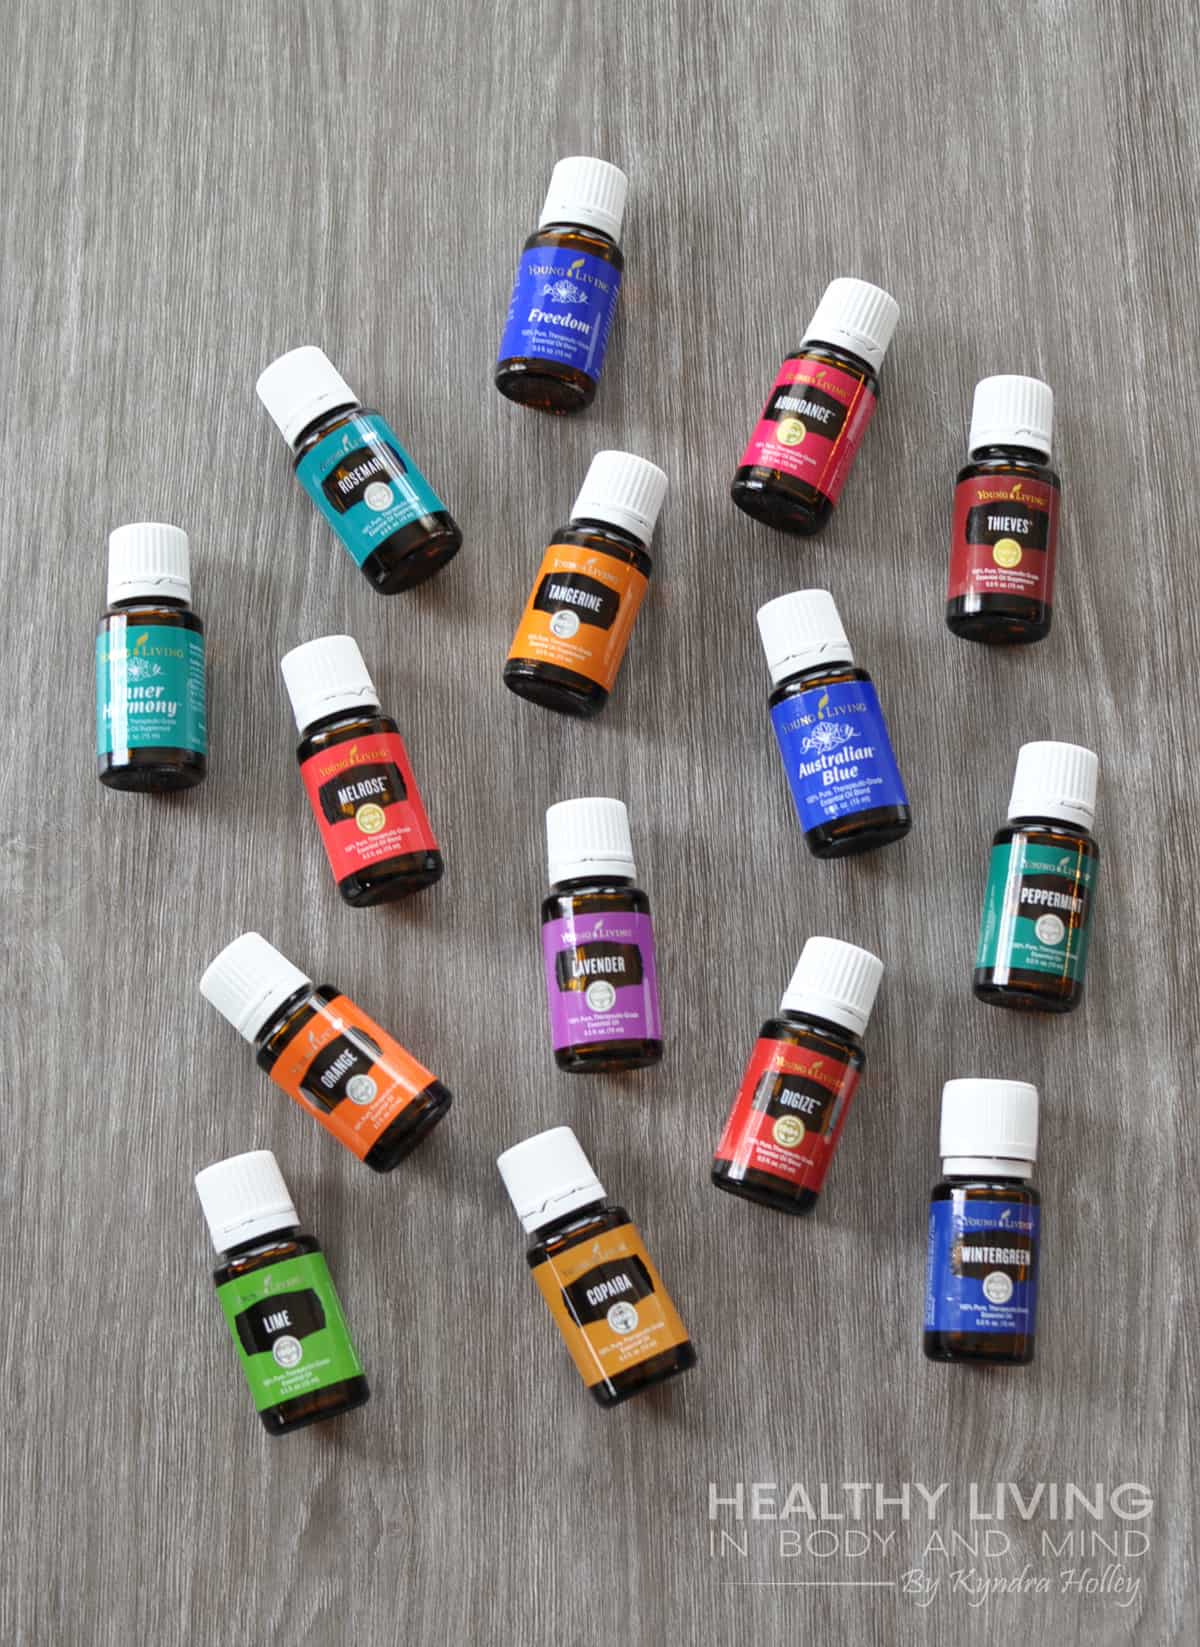
Last, but certainly not least! These essential oils are shot on the Grey Wood board. I love the simplicity of this board. Almost everything looks good on it. It also makes a great backdrop blurred in the background of your photo. I might actually use this board as a backdrop more than I do a photo board. Either way, it looks great for both! Get that pattern here.
There you have it - quick, easy and inexpensive DIY photography boards and photo backdrops. Why spend nearly $200 on a bulky wood photography board, when you can make multiple for half of the price? Do you have a DIY project you would like to see? Let me know in the comments!

Did you try this recipe? Tell us your thoughts!